

 As an OEM, the first ten prototype machine units decide more than engineering pride—they decide bookings, regulatory timing, and customer trust. Programs don’t slip because teams lack ingenuity; they slip because prototype and production are run by the same playbook. That creates avoidable pain:
- Launch dates slide when qualification lots are skipped or compressed
- ECO churn explodes as learning collides with “frozen” drawings
- Costed BOMs blow up with expediting and quick‑turn substitutes
- Late supplier changes trigger re‑qualification and push lead times
- Quality escapes appear when tribal steps aren’t documented
- Long‑lead and EOL parts stall builds; cash gets trapped in partial kits
Root cause: treating production and prototype machine building as interchangeable operating modes.
This guide draws a clean line between them—from documentation and supply chain to quality and KPIs—and outlines the handoffs that help OEM teams hit schedule, cost, and compliance without drama.
Prototype Machine Building, Defined
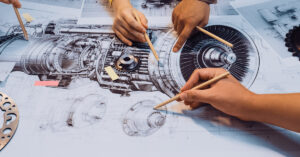
Prototype machine building creates early-stage hardware that proves feasibility, validates requirements, and exposes risks before you lock the design. It’s an engineering activity disguised as manufacturing. The output isn’t just a physical unit; it’s the knowledge required to design a reliable, manufacturable product.
What You’re Optimizing For
- Learning velocity: How quickly you retire technical and manufacturing risks.
- Decision quality: Are design choices supported by measured data?
- Change agility: Can you pivot without breaking the plan?
Typical Attributes
- Scope: Proof‑of‑concepts, alpha/beta units, EVT/DVT builds, process development rigs.
- Change rate: High. CAD updates, component swaps, and test‑driven iterations are expected.
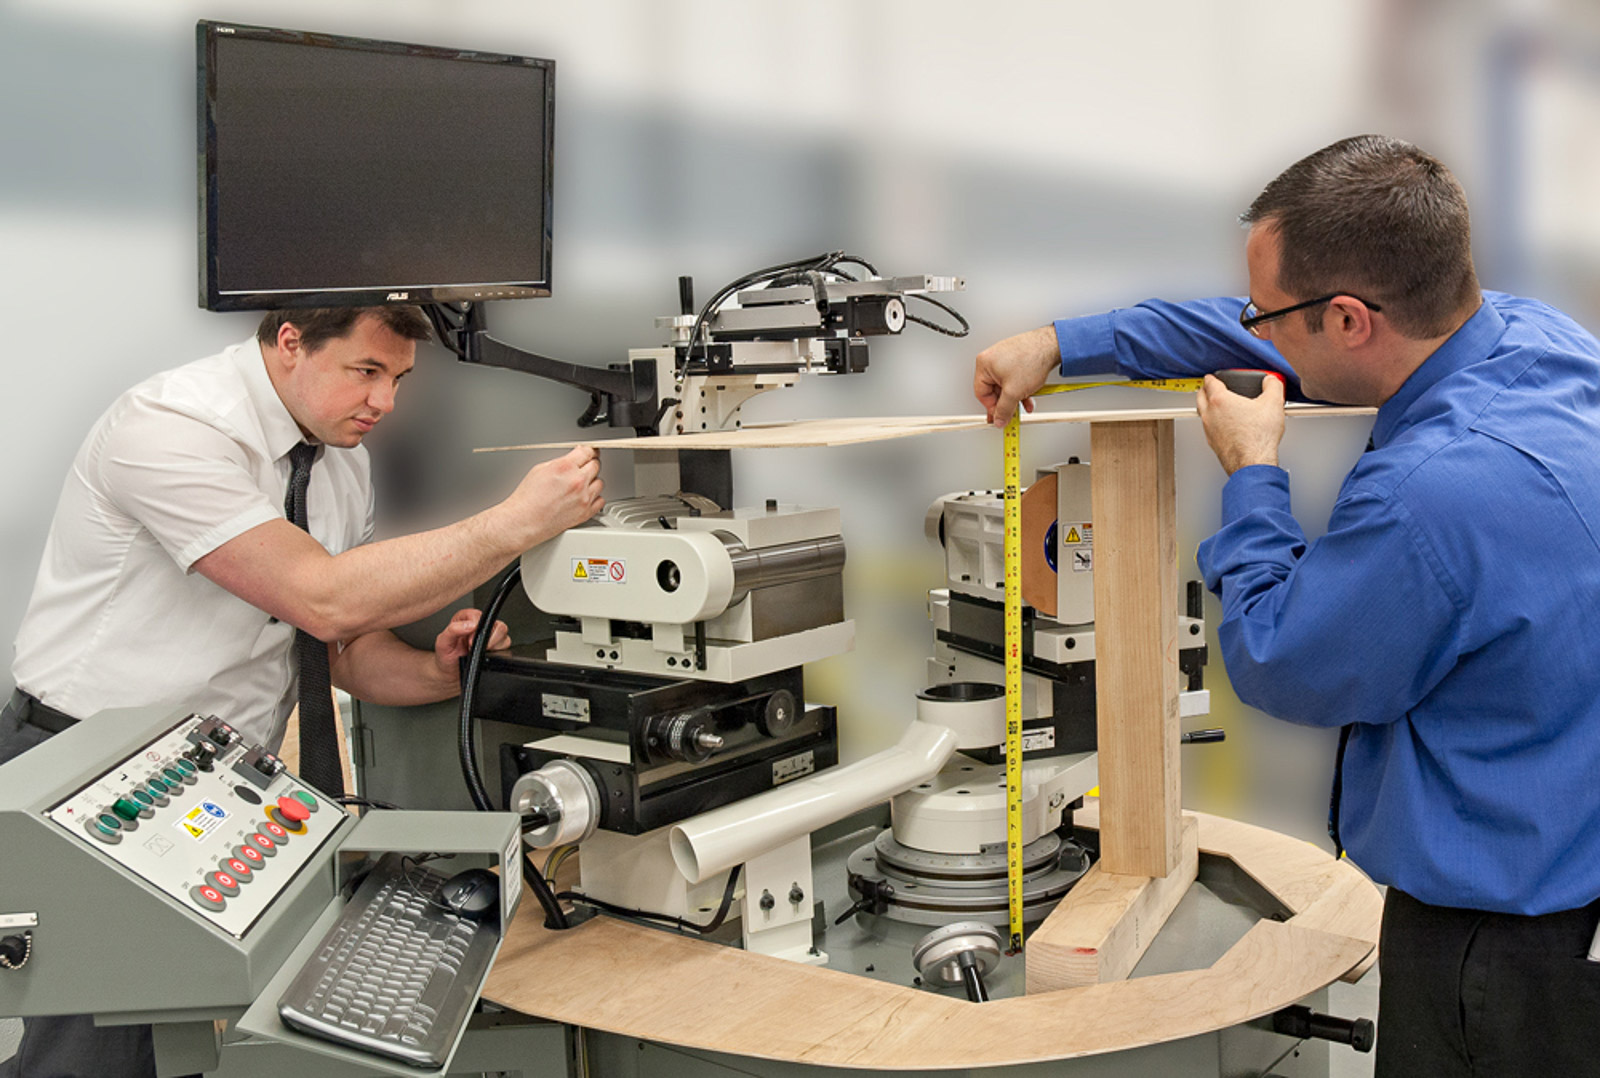
- Staffing: Engineers and senior technicians are hands‑on; design and build happen side‑by‑side.
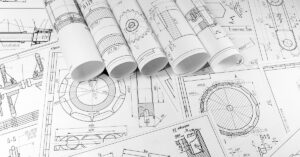
- Documentation: Working drafts and evolving work instructions—sufficient for repeatability at the unit level, not yet production‑grade.
- Supply chain: Quick‑turn machining and sheet metal, flexible vendors, and substitutes to keep learning unblocked.
- Quality approach: Fit‑for‑purpose verification (does it work and why?), instrumented tests, and early FMEA.
- Economics: Higher per‑unit cost; most of the “yield” is data and validated decisions, not margin.
When Prototype Machine Building Is The Right Call
- You need a custom machine prototype for alpha/EVT testing or risk retirement.
- The physics, loads, thermal profile, or accuracy budget still need to be proven on hardware.
- The architecture is mostly defined, but you need to validate mechanisms, motion, or safety factors.
- Downstream processes (assembly order, wiring harnessing, calibration) are unclear and must be discovered.
Production Machine Building, in Contrast
Production machine building is the execution phase: the design is frozen, processes are documented, and the priority is repeatability, compliance, and meeting unit cost/quality targets at scale.
- Goal: Conforming units per calendar week.
- Design: Frozen baseline, with changes controlled through ECOs/ECRs.
- People: Trained assemblers and test technicians working from released work instructions; program and materials management run the cadence.
- Supply chain: Qualified vendors, negotiated pricing, material planning, and clear‑to‑build checks.
- Quality: In‑process inspection, FAT/SAT, capability studies where required, and full traceability aligned to industry standards (e.g., ISO 9001).
Think of them as different control systems: prototype machine building runs an open‑loop discovery cycle (hypotheses → instrumented trials → rapid design changes), whereas production runs a closed‑loop, evidence‑driven process (released baseline → standardized work → capability checks → corrective actions) to keep output stable against defined performance and compliance thresholds.
Side‑by‑Side: Machine Prototype vs. Production
| Category | Prototype Machine Building | Production Machine Building |
|---|---|---|
| Primary Objective | Learn and de‑risk | Repeat reliably at cost/quality targets |
| Design State | Evolving, frequent changes | Locked baseline; controlled changes |
| Change Management | Ad hoc, sprint‑based | Formal ECO/ECR workflow |
| Documentation | Draft work instructions, checklists | Released WIs, inspection plans, acceptance criteria |
| Quality | Verification for insight | QMS‑compliant validation and records |
| Supply Chain | Flexible, quick‑turn, substitutes | AVL, incoming inspection, negotiated terms |
| Fixtures/Tooling | Reconfigurable, minimal hard tooling | Purpose‑built, throughput‑oriented |
| People | Engineers + senior techs | Assemblers + QA + PM |
| Control Mode | Open‑loop discovery (hypotheses → trials → design changes) | Closed‑loop control (released baseline → standardized work → capability checks) |
| Economics | Higher per‑unit, lower NRE | Lower per‑unit, higher up‑front NRE |
| KPIs | Risks retired per sprint, test coverage | Yield, OTD, cycle time to takt, NCR rate |
Separate the two and you’ll launch faster, spend less, and ship with confidence—use prototypes to reduce uncertainty and production to deliver predictable units at scale.
Why Custom Machine Prototype Programs Slip
- Freezing too early. Teams lock CAD to “keep schedule” before the physics are truly proven. The result is expensive rework later.
- Skipping pilot. Going straight from engineering builds to volume invites hidden assembly, tolerance, or supplier issues to surface at the worst time.
- Under‑documenting tribal knowledge. Prototypes succeed thanks to a few experts. Production needs clear work instructions and training plans.
- Supply base not production‑ready. Prototype vendors may be brilliant at speed but lack capacity, quality systems, or cost structure for production.
- Controls changes late in the game. Firmware/PLC updates after pilot can invalidate test data and create unexpected field behaviors.
The Prototype Operating Model (Day‑to‑Day)
- Plan learning, not parts: Start each sprint with the questions you must answer (e.g., heat flux margin,
backlash, settling time, cable life in flex). Every part, fixture, and test stands in service of those questions. - Instrument extensively: Design prototypes to measure the critical parameters—force, temperature, vibration, position, and timing—so you understand why outcomes occur, not just whether they did.
- Favor reversible decisions: Select components and geometries that are easy to modify. Use shims, slotted features, modular brackets, and quick‑change heads to avoid re‑machining late in the sprint.
- Capture tribal knowledge: What an expert tech or engineer does instinctively must be written into the next iteration of work instructions. Photos, torque specs, safety cautions, and inspection points belong in the document—not just in the build room.
- Timebox experiments: If a test can’t retire risk by a fixed date, create a fallback path. Be explicit about what you’ll ship if learnings arrive late.
From Machine Prototyping to Full Scale Production: A Four‑Gate Transition

The most challenging stage in the product lifecycle is the transition from prototype machine building to production. OEMs often underestimate the work required to stabilize designs and establish reliable manufacturing processes.
At PEKO, this transition is managed through a phased approach:
Gate 1 — Technical Development (Prototype)
- Consolidate critical parameters and CTQs, and run targeted experiments.
- Build instrumented prototypes or concept demonstrators.
- Draft risk registers and an initial FMEA.
Exit: You understand the top risks, how to mitigate them, and the changes required for the next build.
Gate 2 — Engineering & Design Freeze
- Convert learnings into released CAD/BOM.
- Run DFMA and tolerance stack‑ups; convert fragile features to producible geometry.
- Define test plans, acceptance criteria, and station‑level work instructions.
- Identify fixtures, gauges, and test stands; place long‑lead orders.
Exit: A controlled baseline exists. Changes now flow through ECOs.
Gate 3 — Pilot / Qualification Builds
- Build a small lot with production‑intent methods.
- Validate WIs, tooling, station layout, and takt assumptions. Close gaps.
- Execute FAT and measure process capability on CTQs.
Exit: Process is capable; supply base is performing; issues are tracked with corrective actions.
Gate 4 — Production Ramp
- Stand up dedicated cells, material flow, visual controls, and training.
- Implement in‑process QA and data collection.
- Manage schedules and pull systems appropriate to demand volatility.
Exit: Stable production hitting cost, quality, and delivery targets.
Prototype Machine Readiness Checklist
- Critical parameters are measured and within defined bounds.
- High‑risk parts have alternates or mitigation plans.
- CAD and BOM are released; a working ECO process exists.
- Draft work instructions exist for every station; photos/torque/specs included.
- Test plans and FAT criteria are defined, including software/firmware versions.
- Required fixtures and test stands are specified and in procurement.
- Key suppliers have passed incoming inspection and quality review.
- A closed‑loop defect process is active (NCR → root cause → corrective action).
Cost & Lead Time: Setting Expectations Early
Prototype Economics
- Expect higher NRE and higher per‑unit cost. Avoid hard tooling until geometry and takt are proven. Favor modular fixtures first.
- Lead time is dominated by engineering cycles and quick‑turn supplier capacity. Timebox experiments and place long‑lead risk buys early when justified by probability‑weighted impact.
Production Economics
- Per‑unit cost falls as you stabilize routings, invest in purpose‑built fixtures, and negotiate volume pricing. Measure true landed cost—including rework, scrap, and expediting—to avoid false economies.
- Lead time is dominated by material planning and capacity planning. Use clear‑to‑build gates and realistic safety stock for risk components.
Partnering Strategy: Who Should Build What
For prototype, prioritize partners who:
- Collaborate with engineering daily and iterate quickly.
- Offer flexible machining, sheet metal, welding, and assembly under one roof.
- Support instrumentation, data logging, and controlled experiments.
- Embrace incomplete information but keep strong configuration control.
For production, prioritize partners who:
- Demonstrate a robust QMS and compliance in your industry.
- Operate reliable supply chains with planning discipline and traceability.
- Stand up dedicated cells, document training, and scale to forecast.
- Report by cost, quality, and delivery metrics—consistently.
Ideal scenario: the same organization is competent at both. The team that built and instrumented the prototype machine writes the work instructions, trains production staff, and supports ramp. Handoff losses shrink, and ramp risks drop.
Machine Prototyping FAQs
How many prototype units do we need? Enough to cover functional, extremes, and manufacturing learning. A single hero build seldom exposes tolerance, assembly, and supplier issues; plan multiple units or rebuilds.
When should we invest in hard tooling and test stands? After a pilot confirms geometry, tolerances, and takt. Tooling too early locks in unproven assumptions.
Can the same suppliers support both phases? Sometimes. Many programs use a development supplier for speed and a production supplier for cost/capacity. Dual‑source risk parts where feasible.
How do we manage software and controls? Treat firmware/PLC versions as configuration items with acceptance tests. Late changes after pilot will contaminate process data and complicate field behavior.
Summary
Prototype machine building and production machine building may share the same end goal—a reliable, functional machine—but the paths to get there are vastly different. Prototypes exist to test, learn, and iterate, while production builds emphasize scale, cost, and compliance.
For OEMs, recognizing these differences is crucial. Missteps during the transition can cause delays, cost overruns, and even market failure. By choosing a partner like PEKO, with proven capabilities in both NPI and production scaling, OEMs can de-risk their programs and accelerate time-to-market.
Next Step
Looking for a partner who can take your prototype machine to production? Contact PEKO today to learn how we support complex machine building across regulated industries.
Not sure your prototype is ready to scale? Download our New Product Development Self‑Assessment Checklist (PDF) by submitting the form below.