


Industrial Metal Silk Screening Services
When you choose PEKO for contract manufacturing, you don’t have to worry about finding a separate supplier for metal silk screening. We understand the inherit challenges that come with sourcing and manufacturing metal products, which is why we offer this service in-house. This way, you can get the perfect prints for your machinery and other metal products under the same roof they’re manufactured.
This department is conveniently located within our precision sheet metal fabrication facility right beside our wet paint and powder coat finishing operations, making it easy for us to work together seamlessly on your project. Our team has mastered the art of silk screening and is well-versed in the latest techniques and technologies, so you can be confident in getting high-quality prints that meet your exacting specifications every time.
Silk Screening Capabilities
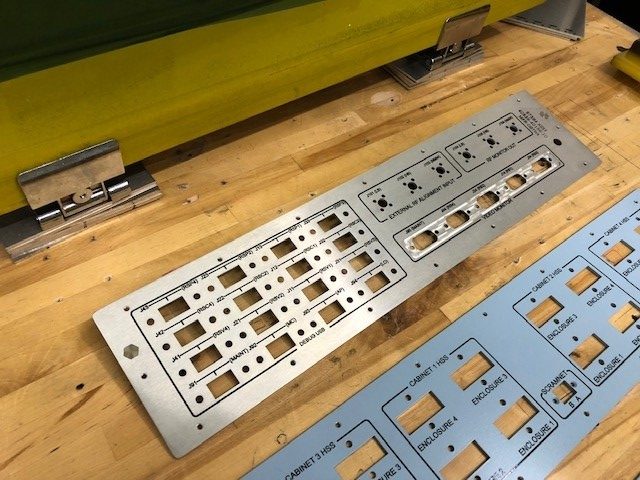
Types of Metals
- Aluminum
- Painted substrates
- Powder Coated metal
- Coated Steel
- Stainless Steel
Types of Inks
- Epoxy (most common) – outdoor exposure and adhesion
- Urethane
- Lacquer
Advantages
- Precise location
- Transferability
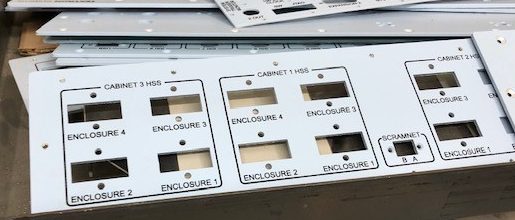
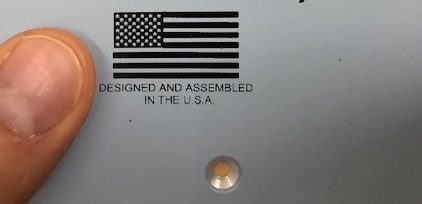
- Cosmetic appearance (logos)
- Accurate geometry
- Durability/Longevity
Alternatives
- Ink stamps
- Adhesive labels
- Stencils
These metal silk screening alternatives aren’t always as durable and accurate as metal silk screening, so we advise you to choose wisely.
A Look Inside Our Metal Silk Screening Process
Silk screen printing on metal is a delicate and nuanced process. It may look easy but creating a process and having the discipline to follow it is of utmost importance. Steps 1 to 7 describe the process of creating the screen, and steps 8 thru 11 describe the process of applying the ink.
- The customer supplies artwork files
- PEKO prints the artwork onto the transfer film (Econofilm by Ryonet) with DMAX UV light blocking dye
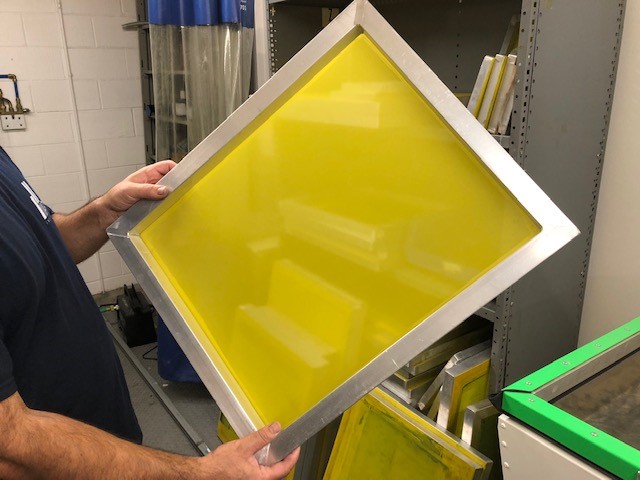
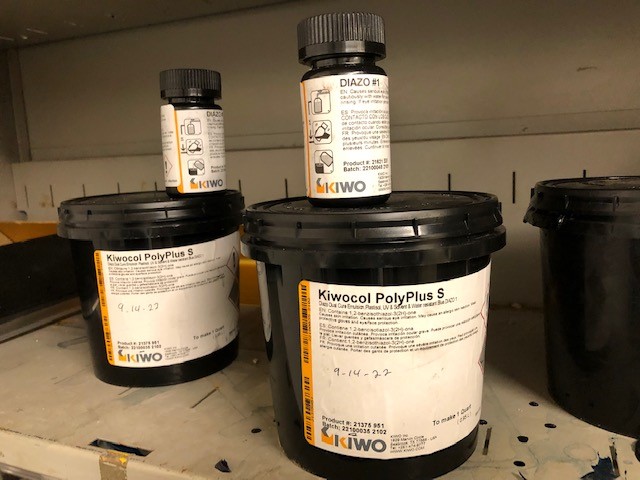
- A screen is chosen by size and a liquid emulsion is placed on the screen in an environment (similar to a dark room)
- The screen is then baked in an oven to solidify the emulsion on the screen
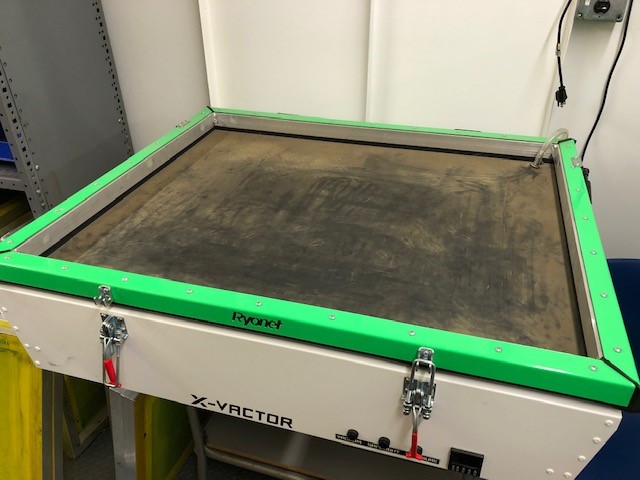
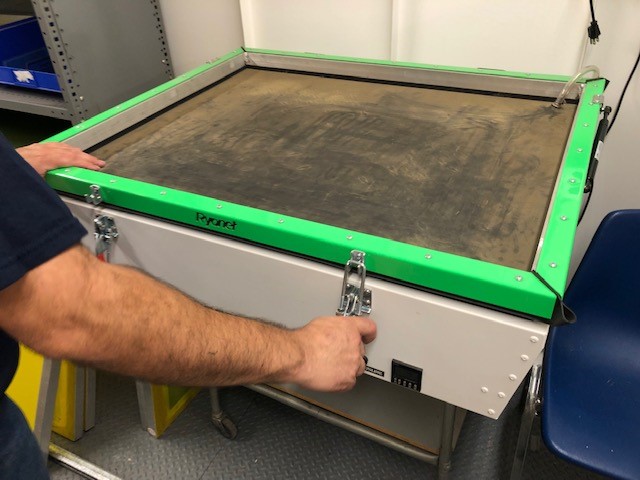
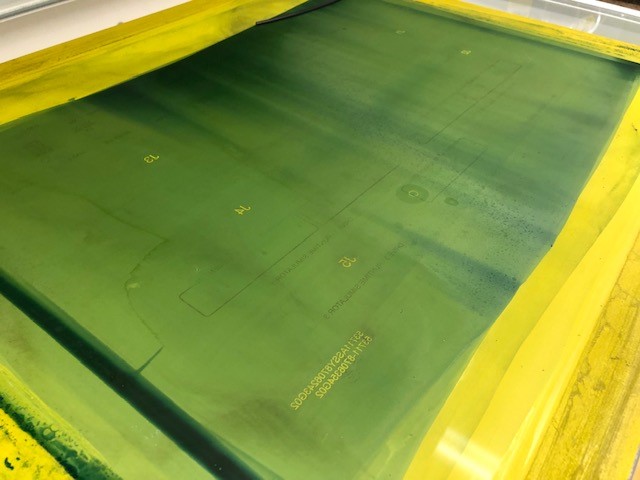
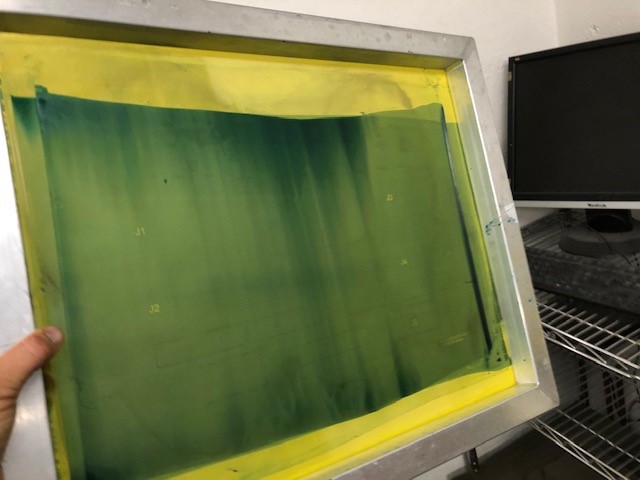
- The printed artwork transfer film is placed onto the silkscreen, then both are placed into the X-Vactor LED Vacuum Exposure Unit with Digital Timer
- The exposure unit is turned on, using a vacuum seal and UV light to imprint the artwork negative into the screen
- The screen is ready for printing
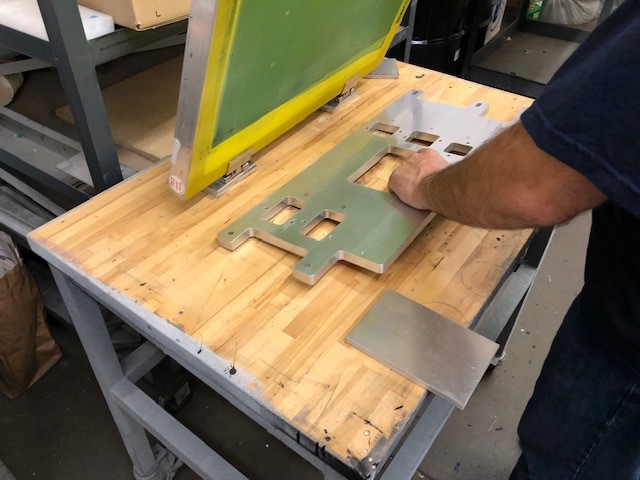
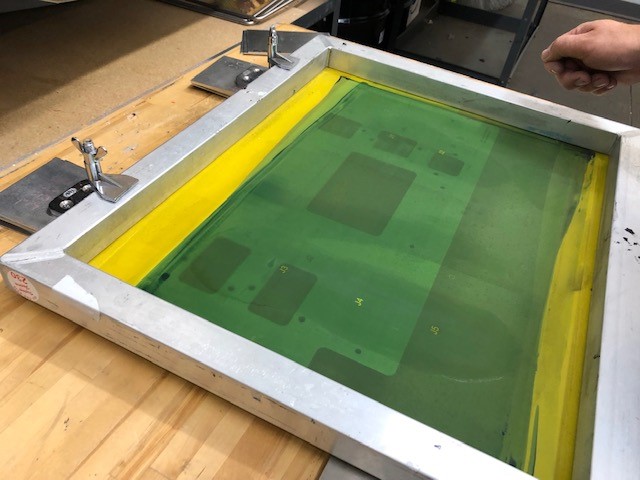
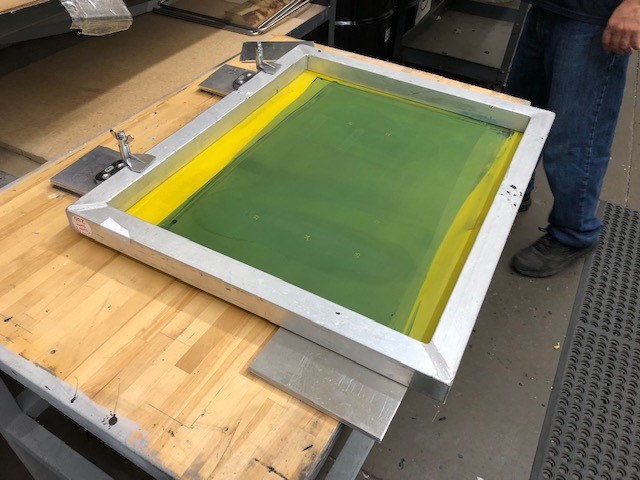
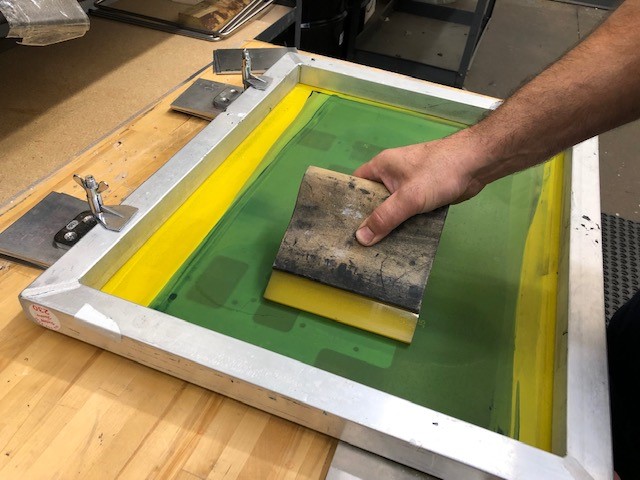
- The silk screen is placed over the workpiece, with a small gap between the material and the screen to ensure good springback
- Ink is placed onto the screen and a squeegee is wiped across the silkscreen
- Ink is pushed through the negative image onto the material
- The screen is removed, leaving the completed workpiece to dry
Streamlining these processes under one roof benefits our contract manufacturing customers in a multitude of ways. We save you the time and effort of searching for a separate silk screen supplier as well we the inherent risk and cost of using an outside vendor. We are also able to offer much faster turnaround times on your contract manufacturing programs.
Whether you need custom logos, text, or graphic designs printed, we have the tools and expertise to bring your vision to life. Contact us today to learn more about how our value-added silk screen capabilities can provide a more comprehensive solution for your metal fabrication contract manufacturing needs.